NGINX UNIT 로 MSA
[nginx_unit msa nginx는 많이 사용되는 만능 웹서버이지만, nginx-unit을 아는 사람은 아직 많이 없는듯 하다.
nginx-unit은 MSA를 위해 탄생한 것 같다. 이는 nginx-unit을 소개 페이지를 보면 바로 알 것이다.
https://www.nginx.com/products/nginx-unit/

그림만 봐도 MSA처럼 보이지 않는가!!
docker nginx-unit를 기준으로 보면 기존의 nginx 보다는 설정을 많이 간소화했고, 동적으로 config를 변경할 수 있다는 장점을 가지고 있다. 성능도 http connection 10000개 정도까지 커버한다고 한다. 모든 설정은 config.json 만 맞춰주면 OK이다.(이 점이 제일 맘에 든다)
node express 로 만든 graphql 서버를 nginx-unit docker로 MSA화 하는 작업을 해 보겠다.
예제는 graphql의 공식 홈페이지의 express 서버 코드를 참조했으며, 자세한 사항은 https://graphql.org/graphql-js/running-an-express-graphql-server/ 를 참조하라. 공홈과의 차이점은 파일명을 index.js 가 아닌 app.js로 했다는 점이다.
//app.js
var express = require('express');
var { graphqlHTTP } = require('express-graphql');
var { buildSchema } = require('graphql');

// Construct a schema, using GraphQL schema language
var schema = buildSchema(`
  type Query {
    hello: String
    amount: Int
  }
`);

// The root provides a resolver function for each API endpoint
var root = {
  hello: () => 'Hello, Hello, Hello',
  amount:() => 34500
};

var app = express();
app.use('/graphql', graphqlHTTP({
  schema: schema,
  rootValue: root,
  graphiql: true,
}));
app.listen(4000);
console.log('Running a GraphQL API server at http://localhost:4000/graphql');
이 서버는 4000번 포트를 통해 /graphql 로 서비스를 한다.
그럼 config.json파일을 준비한다. 아래는 express용 config다.
{
    "listeners": {
        "*:4000": {
            "pass": "applications/express"
        }
    },

    "applications": {
        "express": {
            "type": "external",
            "working_directory": "/www/",
            "executable": "/usr/bin/env",
            "arguments": [
                "node",
                "--loader",
                "unit-http/loader.mjs",
                "--require",
                "unit-http/loader",
                "app.js"
            ]
        }
    }
}
listeners에 포트 4000으로 맞췄고 applications를 보면 워킹 디렉토리가 /www임을 알 수 있다. 여기에 배포 코드를 복사하면 되겠다.
이미지는 Dockerfile을 이용한 docker build 명령으로 만들 것이다(docker-compose로 해도 무방하다). Dockerfile은 아래와 같이 구성한다.
# Using base image provided by nginx unit

# nginx unit node16이 깔려있는 버전 받아옴(1.26.1-node16)
FROM nginx/unit:1.26.1-node16

# docker 이미지 내 /docker-entrypoint.d/ 디렉토리에 설정한 config.json 파일 복사
COPY config.json /docker-entrypoint.d/config.json

# express의 메인 js파일인 app.js 복사. 기타 다른 라이브러리 있으면 같이 /www/에 복사
COPY app.js /www/

# grapeql서버를 위한 install
RUN cd /www && npm install express express-graphql graphql --save

# Express를 위한 nginx unit-http install
RUN cd /www && npm install -g --unsafe-perm unit-http
RUN cd /www && npm link unit-http

# 사용하려는 포트 expose
EXPOSE 4000
여기서는 graphql만 설치했는데, 다른 필요한 사항이 있다면 RUN 필요한 설치 작업 으로 추가한다.
현재 docker로 묶으려는 폴더의 내부는 아래와 같다.
.
├── Dockerfile
├── app.js
├── config.json
├── node_modules
├── package-lock.json
└── package.json
여기서 node_modules만 폴더이다.
이 디렉토리에서 docker build를 해 준다.
> docker build --tag=expressql .
작업이 완료되었으면 docker images를 통해 결과를 확인한다.
REPOSITORY   TAG       IMAGE ID       CREATED        SIZE
expressql    latest    541b254c0f04   3 hours ago    929MB
jenkins      1.0       35ec6519bffc   4 months ago   1.18GB
나는 3시간전에 미리 깔아놔 ‘3 hours ago’ 라고 뜨는 것은 감안하고 봐 주기 바란다.
컨테이너를 띄워보자
docker run -d -p 4000:4000 --name eql expressql
이제 localhost: 4000/graphql 로 접속해 아래와 같은 화면이 보여지면 성공이다.
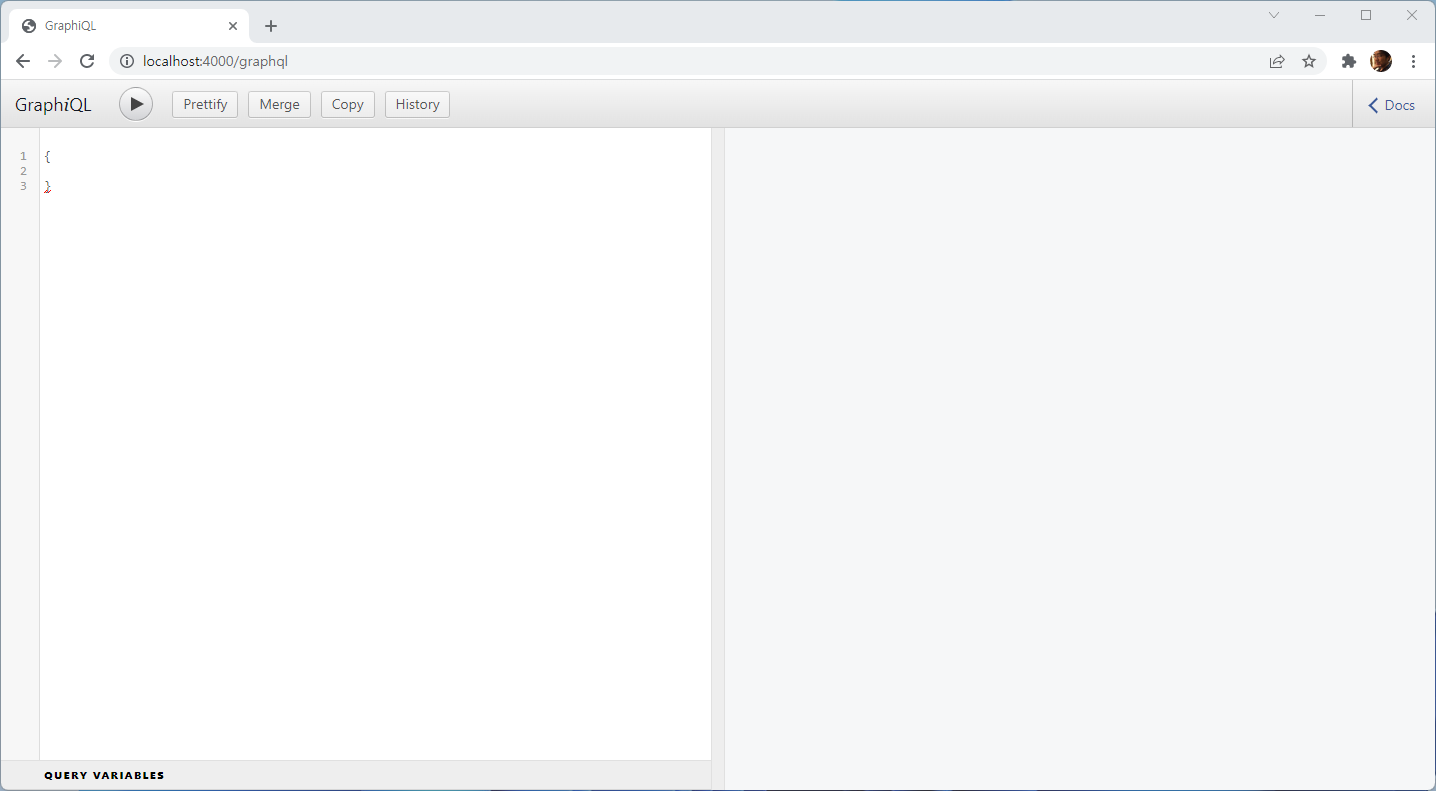
기존 nginx보다 config가 많이 쉬워졌고 기능도 슬림해져 docker 컨테이너에 띄우는 게 어렵지 않을 것이다. node 외에도 파이썬, Ruby등도 지원을 하니 nginx-unit의 공식 홈페이지에서 방법을 확인하기 바란다.